Learn how to create a Terms & Conditions check box on your checkout page.
Written by Jared K
When it comes to your business, you have to cover your assets. That's why some ecommerce companies require customers to agree to their Terms & Conditions before they check out.
Creating a Terms & Conditions Custom FieldHere's how to add a T&C checkbox to your checkout page:
From your store's Admin Dashboard, go to Settings > Custom Fields.
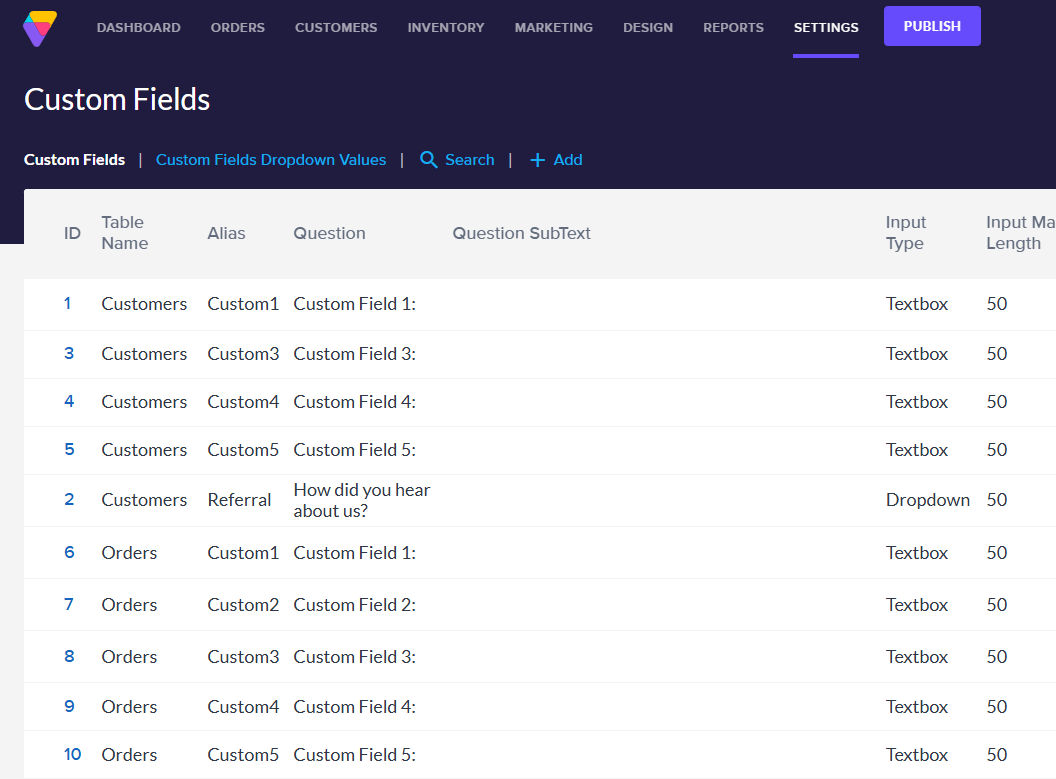
Click the blue Add button at the top right of the page.
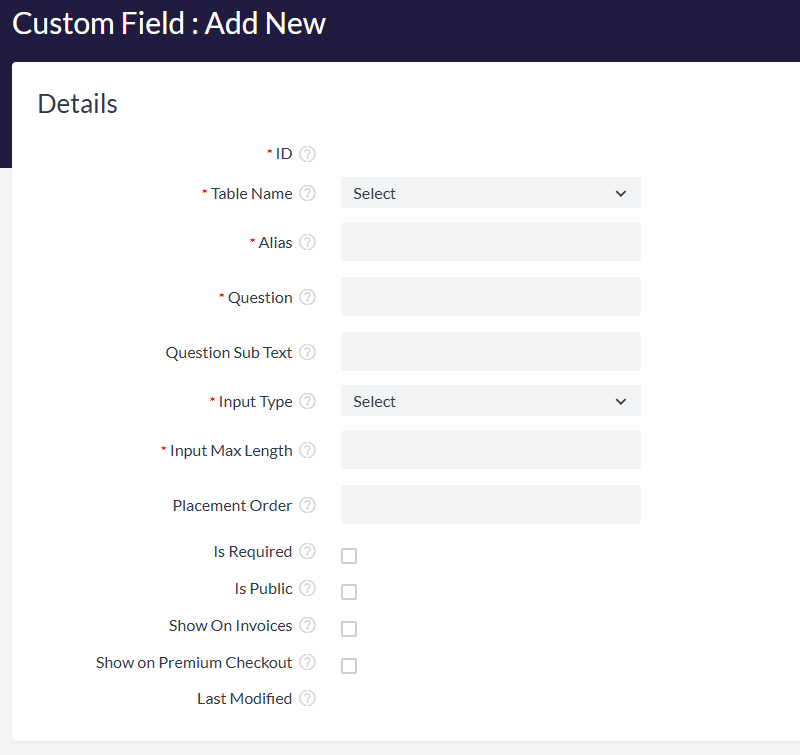
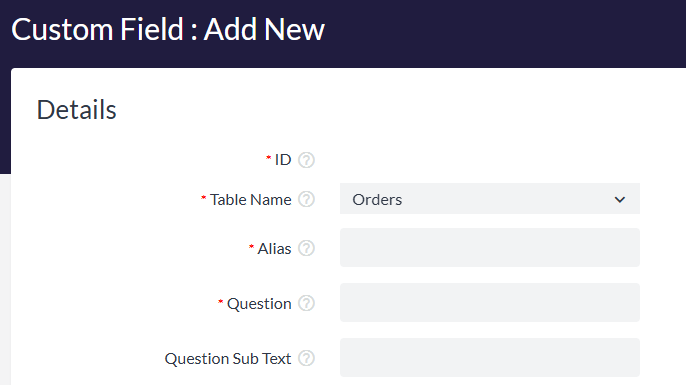
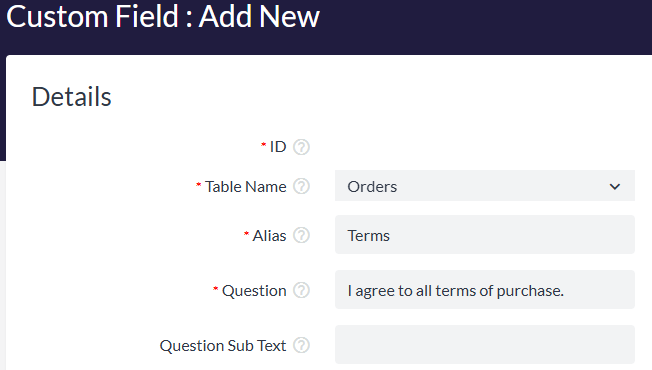
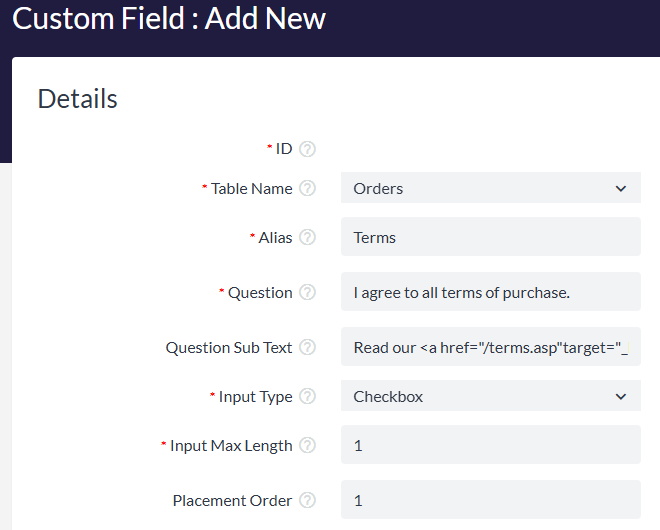
Select Orders from the Table Name dropdown menu. This allows the custom field to show at checkout for every order.
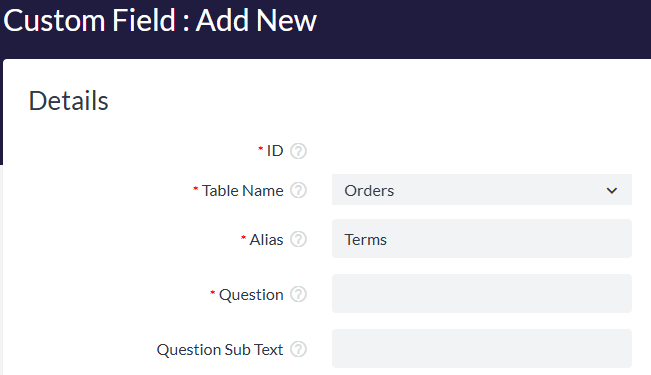
Enter Terms or something similar in the Alias field (The alias wont be visible on your storefront).
In the Question field, write the text as you want it to appear on the checkout page (e.g. I agree to all terms of purchase.) ?? Good to Know: This field does NOT support HTML, so please do not use characters such as " > < ; ' as they may cause errors at checkout.
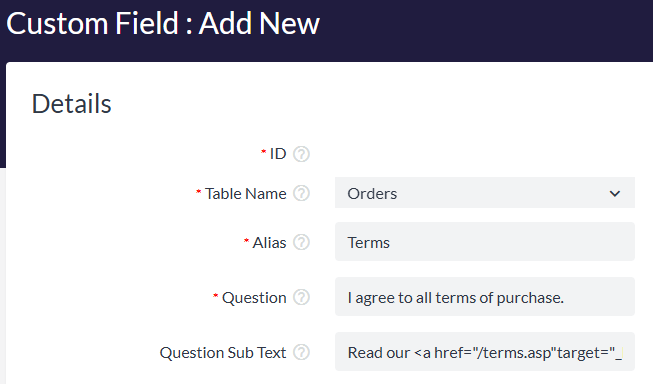
To link to your Terms & Conditions page on your website, enter the following into the Question Subtext field:
Read our <a href="/terms.asp"target="_blank">terms and conditions</a>
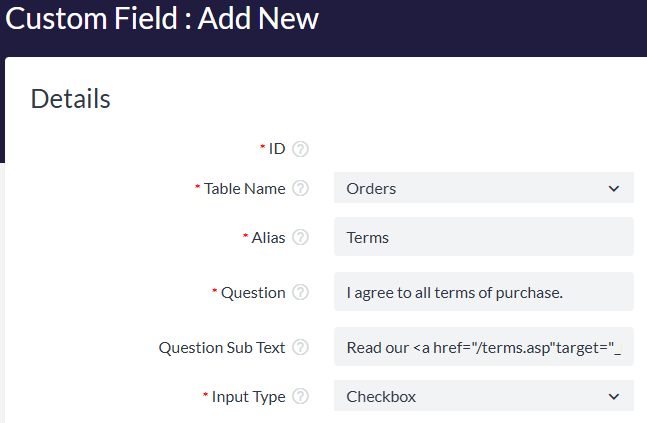
Choose Checkbox from the Input Type dropdown menu.
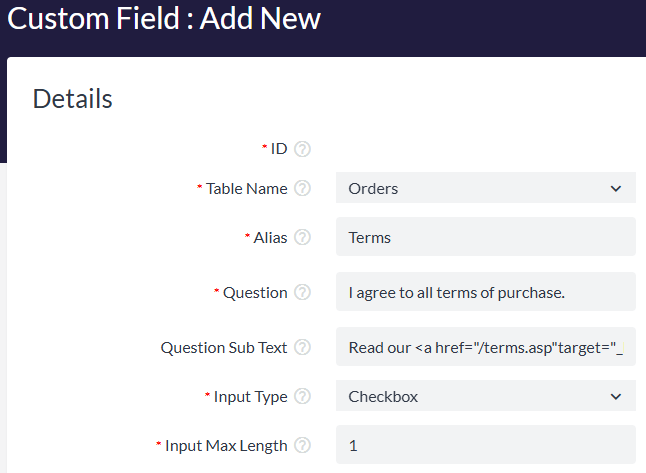
Enter any numeric value into the Input Max Length field, e.g.1 (This is a required field that has zero impact on the Checkbox Input Type).
If you intend on having multiple Custom Fields on checkout, add a number to the Placement Order field to indicate what order this field should show. If you will have only 1 field on checkout, you can leave this field blank.
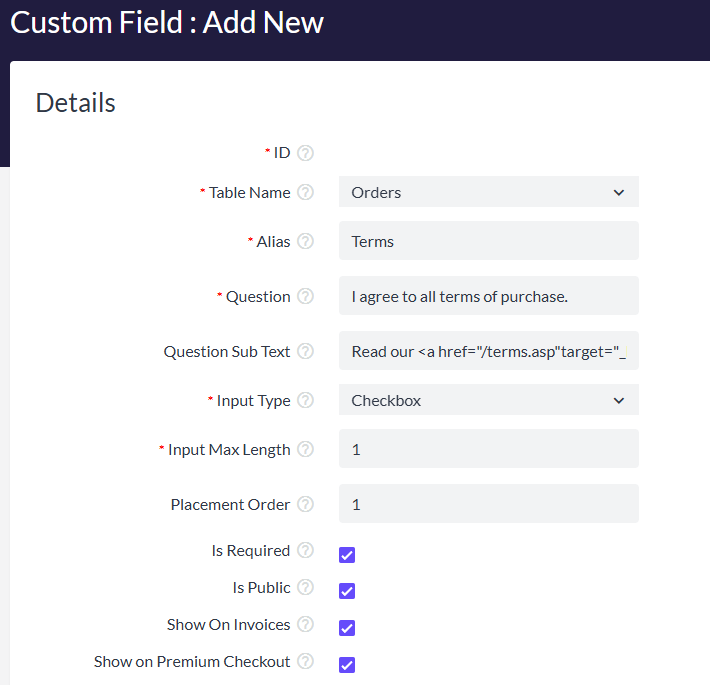
If you want checking the T&C box to be a required field for customers to complete before they can check out, enable the Is Required option.
Enable the Is Public option so the field will be visible to customers on your storefront.
Enabling the Show On Invoices option will allow customers to view what that they acknowledged the terms within their invoice.
Enabling the Show on Premium Checkout option will make sure that the custom field can display when using Premium Checkout. This is required for it to show when using that feature, but is not required when using the legacy One Page Checkout feature.
Click the Save button at top right to save your Custom Field.
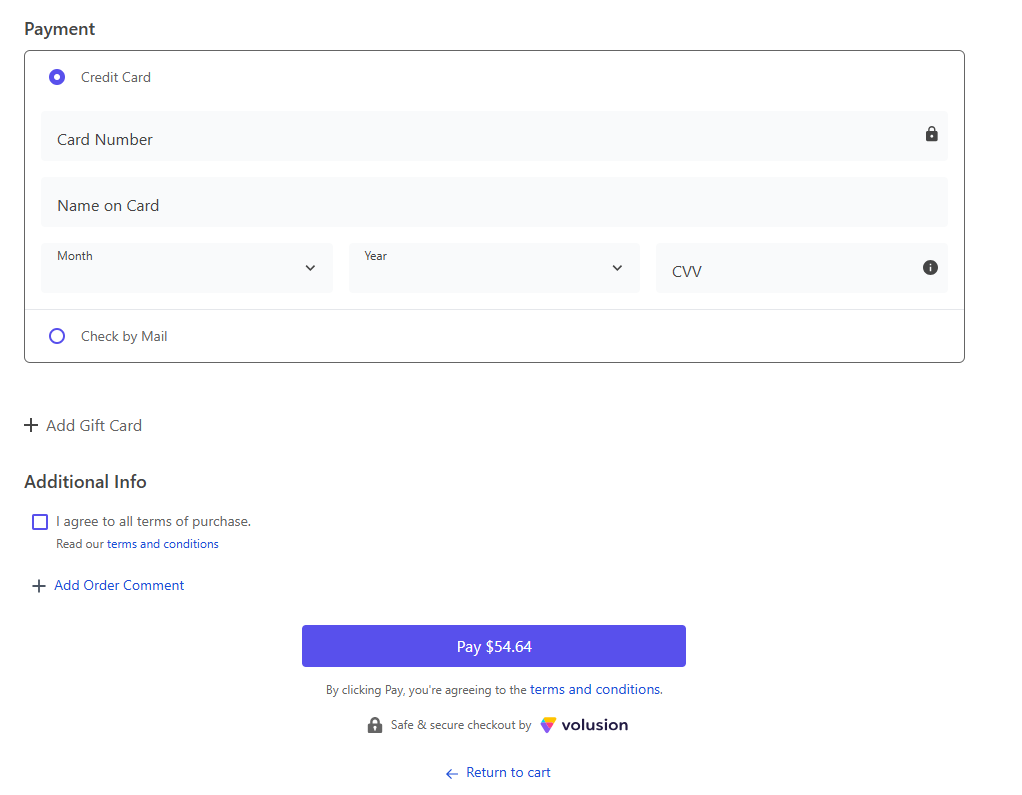
Now your custom T&C checkbox should be all set up, complete with a link to your Terms and Conditions page.
To edit the default text on your Terms and Conditions page, see How to Update Your Store's Informational Pages.
For more information, see our guides on Custom Fields and "How to Add Custom Fields to the Checkout Page".